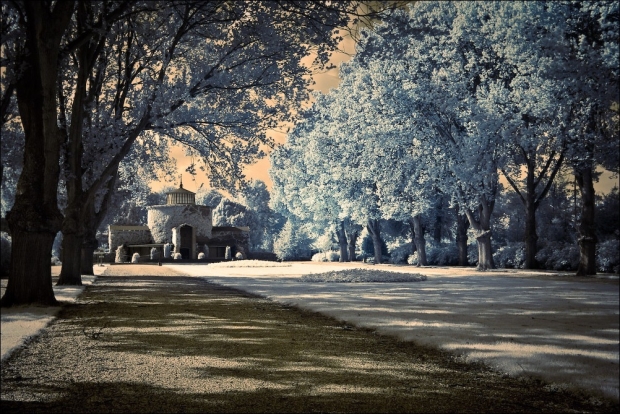
Photo with a infrared-passing filter
Despite the growing ease of post processing images, there are some things that you can’t add or remove through digital manipulation.
Camera lens filters still have a wide variety of uses in this digital age. From the most common UV filter to the landscape photographer’s friend, density filters, this tutorial will guide you in using and choosing the right lens filter for your gear.
Filter Size
First of all, look at the front end of your lens, you’ll notice a measurement in”mm”. This is your lens’ filter size. Smaller lenses, such as the 52mm 1.8, will require a small filter while larger lenses, such as the 70-200mm 2.8, will need a much larger filter. Don’t get confused and interchange your lens’ focal length with its filter size, the two are not the same.
There are two varieties of filters, screw-on and front filters. The screw-on type is the easiest to use, just screw it on front of your lens and you’re done. On the other hand, front filters require an additional holder kit for it to be used easily.
If you’re using a screw-on filter, you don’t need to buy filters for your entire lens collection. Buy the largest filter that you can put on your lens then use a step up ring to attach it onto your other lenses. This is useful for filters that aren’t used that much.
Polarizers Filters
A landscape photographer’s loyal companion, polarizers are often used in landscape opportunities. They work by reducing the reflected light that passes through your camera’s sensor. The results are deeper blue skies, glare reduction and greater land and sky contrast.
This effect can be greatly increased depending on your camera’s position relative to the sun. To achieve the strongest effect, aim your camera in a direction which is perpendicular to the direction of the sun’s light. Basically, keep the sun to your side and not at your back or front.
Polarizers can help when shooting water since it can cut out the glare and make you see through the water. It also helps with the contrast making it a richer blue. Other shiny objects, such as cars and glasses, will also be affected by this filter so try it out in various things and you’ll be surprised. Keep in mind that this filter effectively cuts exposure to about 2-3 stops so be wary of blurry shots.
Neutral Density Filters
The existence of a neutral density filter can be confusing at first. Why would you cut out light? More light means faster shutter speed resulting in fewer blurry pictures. But there are times that you might want to use a slower shutter speed, a couple of seconds or more, and notice that your camera’s ISO and aperture can’t tone down the light anymore. This is where the ND (neutral density) filter comes in.
Silky smooth water pictures are a result of ND filters. Without the filter, you won’t be able to achieve a long enough exposure to create the desired effect. Even at golden hours, achieving more than 5 seconds of exposure can be difficult despite using the lens’ smallest aperture.
A ND filter also makes possible the use of a wider aperture opening. Normally during bright days, you won’t be able to use your lens’ widest aperture since it would result in over exposure. Even at a shutter speed of 1/8000 and an ISO of 50, f/1.8 is out of reach. With the use of a ND filter, you can play with the depth-of-field despite the brightness of the scene.
There’s another type of ND filter which is particularly useful in landscape photography, the graduated filter. As the name implies, there’s a gradual application of the ND effect throughout the filter. The top has the filter on it and it gradually comes off near the bottom. This is specially useful when shooting landscapes since the exposure can be evened out easily. For example, when shooting a sunset, you can only compensate one side of the picture, the top or the bottom. If you compensate for the bottom part, the sky will be overexposed and recovering details might be very hard to do. By using a graduated ND filter, you use the ND filter only on the part where there is over exposure. This results in an even lit and well exposed landscape photograph.
UV Filters
Nowadays, UV filters are used as lens protection only. But as the name suggests, its main purpose is to filter ultraviolet light. Fortunately, digital camera sensors are not sensitive to UV light, therefore UV protection is no longer necessary.
It is advisable to attach UV filters on your lens for added security. It’s much cheaper to replace a UV filter than a broken glass. Be warned though, cheap UV filters can affect image quality by adding flare, color tint and reducing contrast.


