You have your wide angle lens ready and aperture set at f/16.
You go home and see that the picture you took is not as what you have in mind. Landscape photography might seem like setting the aperture to the highest possible value and taking a picture of a beautiful scene but it’s not just that. There are more factors to consider in capturing amazing landscape shots. Below are some tips in helping you improve on your landscape photography. If you have any comments and helpful suggestion, please don’t hesitate to write below.
Tripod
More often than not, most photographers already own a tripod. The problem lies within the quality of said tripod. A $15 tripod might seem like a good deal but keep in mind that you’re letting that cheap equipment hold your $1,000+ camera gear. A cheap tripod is probably unstable and since you’ll be shooting outside, a gust of wind might just be the end of your lens and camera. Besides being unreliable, low-end tripods don’t have much flexibility in terms of camera position. Quality tripods offer low angle shots where the camera is merely inches from the ground. This is quite an angle that can produce very striking landscapes (and other creative shots). They also have interchangeable heads which you can let you maneuver your camera at various angles to easily match the horizon.
Hyperfocal Distance
This term sounds so technical and it can be but it can also be simple and easy. In layman’s term, hyperfocal distance is a distance beyond which all objects can be brought into an acceptable focus. Some think that focusing with the hyperfocal distance in mind will make all the objects in the scene sharp. This is a misconception. What it does is it tries to get everything acceptably in focus. Your main focus point will be definitely sharper compared to those affected by the focusing technique.
One way to achieve this is by focusing that farthest subject of your photograph. Then move your focus backwards. Since you have a high aperture value, moving your focus point will not drastically make the out of focus areas very blurred. Keep moving backwards until you find that the farthest subject is acceptably focused. That’s it. Instead of just focusing on a focal point, you try to find the optimal spot where everything is acceptably sharp. Another way of getting the hyperfocal distance is through various hyperfocal calculators online. This can be used if you have a laptop or mobile phone with you.
Keep in mind that not all landscape shots should be focused using this technique. There are times where you have a very important focal point and getting that in focus is much better than getting the whole image acceptably sharp.
Golden Hour
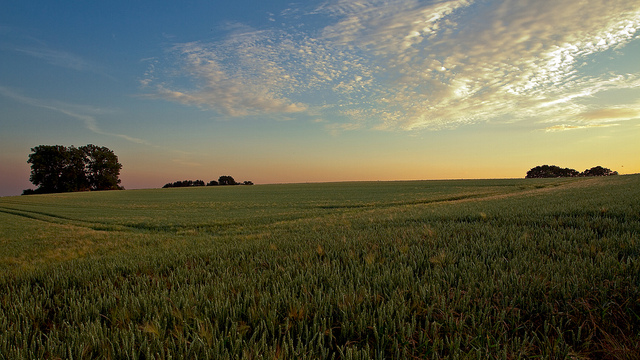
Photography is all about capturing the light. Bad light equals bad photograph. If you’ve tried shooting landscape at noon then you know that it won’t ever work (unless you intend that style). There’s just too much harsh lighting and the lighting above the horizon is too much. There is a thing called “golden hour”. It’s the time around dawn and dusk where the sun is at an angle that produces soft and amazing light. The shadows created add texture and drama to a scene and the dynamic range is not too hard on the camera. The golden hour doesn’t last for so long so better have the scene in mind so you don’t waste the precious beautiful light.
Neutral Density Filters
Explaining why photographers use ND filters can be hard. First of all, why would you want to get rid of light? If light is so essential, why reduce it? And if you just want a darker image, why not lower your exposure by increasing aperture and/or shutter speed? Honestly, that’s what came to my mind the first time I heard about these filters.
ND filters are one of the most essential tools of landscape photographers. Other filters are quite useless since they can be easily attained through digital manipulation. The effect of an ND filter cannot be achieved through the computer. If you shoot without an ND filter, the upper part of the horizon will be overexposed. To remedy this, you can underexpose through post processing and hope that the details still come out. Another way is to expose using the sky so the foreground will be underexposed and that’s the part where you will need to pull the details from to get even exposure. The problem with this technique is its quite hard not to lose any details because of the overexposure. An overexposed part of an image is basically useless data since you cannot get any more from it. Using an ND filter will naturally make the image properly exposed.
No more tweaking in post processing and you get a smoother image overall.
Photo by Frank Schmidt


